
Big Sized Games for Little Learners
Hi there, friends!
The PreK Corner @ Little Learning Lovies is full of fun stuff. There are quite a few free files there for you and always tons of great things for members. (Click here to see how you can get Premium Membership for 1/2 price!)
Today, I want to share with you about a fun Memory Game that’s free for everyone over at The PreK Corner.
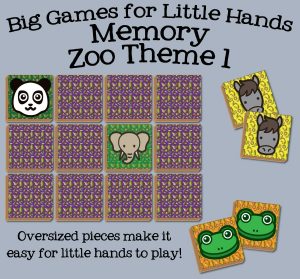
Now, you can, of course, print this on card stock, using the background page on the backs of each sheet of cards, but here’s a fun tutorial for making these thick and sturdy and extra fun to play with!
First, instead of printing double sided, you’ll want to print the pictures out and then three copies of the backing. You’ll need 6 sheets of paper for this game.
Gather up all your supplies. You’ll need:
- A box (I used an empty Amazon box. Please tell me I’m not the only one with way too many of these showing up each month?)
- Your printed game piece sheets (Click here to get the file Before July 7th 2015!)
- Scissors
- Spray adhesive or some other glue.
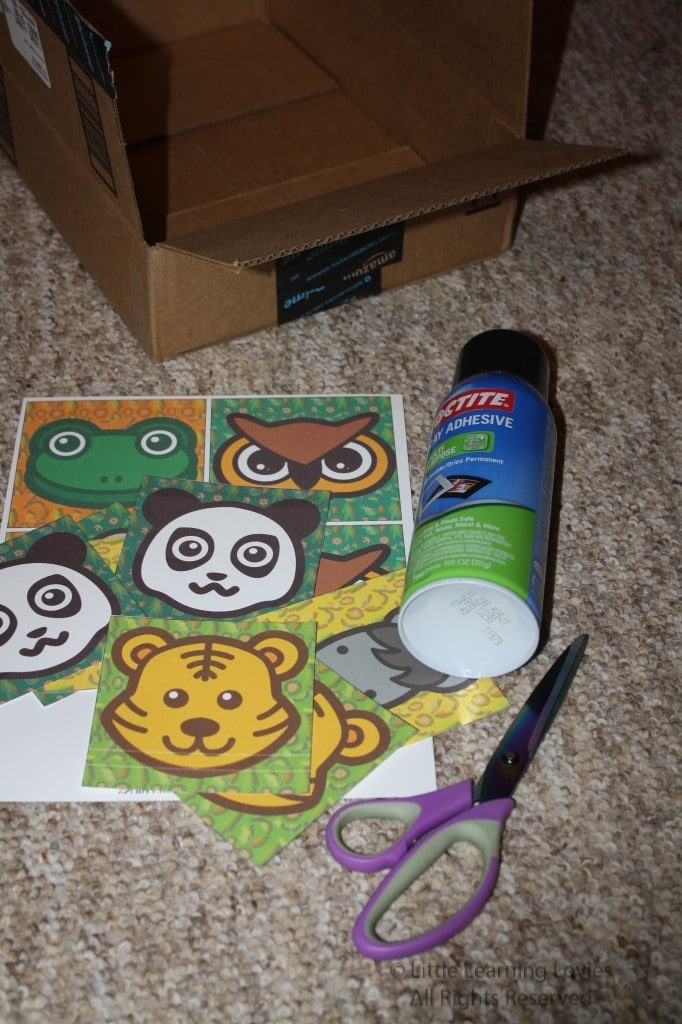
Cut out all the game pieces. Also cut out the background pieces but don’t cut these into squares yet.
Trace one of the pieces onto the cardboard box. I was able to get 10 pieces from the flaps on this box and got the last two from a bottom flap. Cut out all your cardboard pieces.
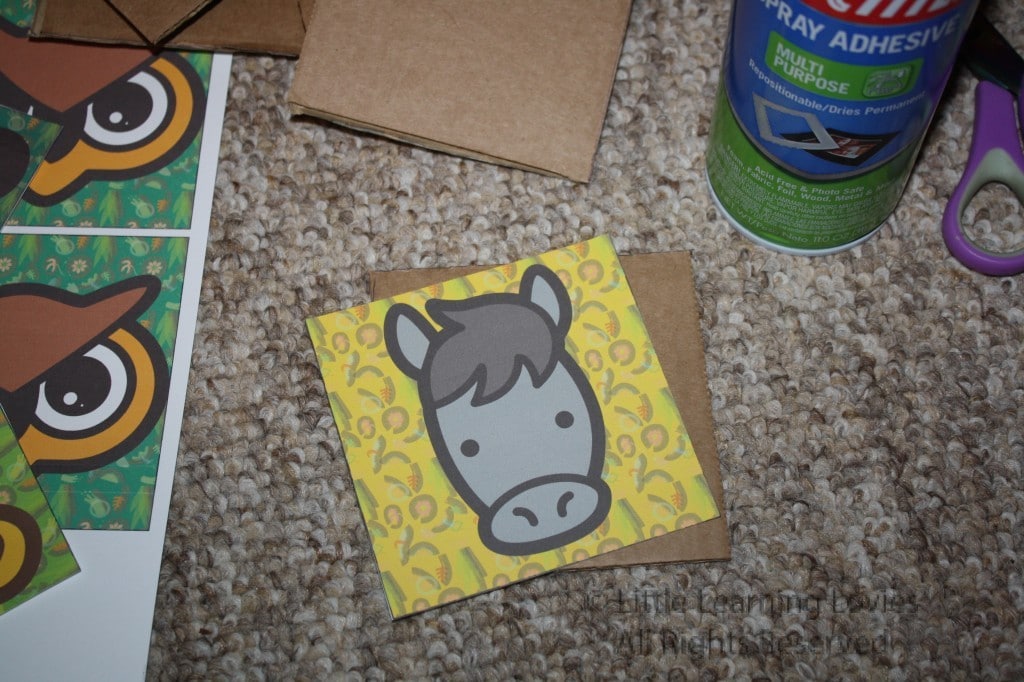
Double check to make sure everything will fit. The cardboard will be either exactly the same size or ever so slightly larger than your game pieces. That’s perfect. 🙂
Lay your pieces face down in what’s left of your box. Spray them with your spray adhesive and start gluing them to the cardboard squares.
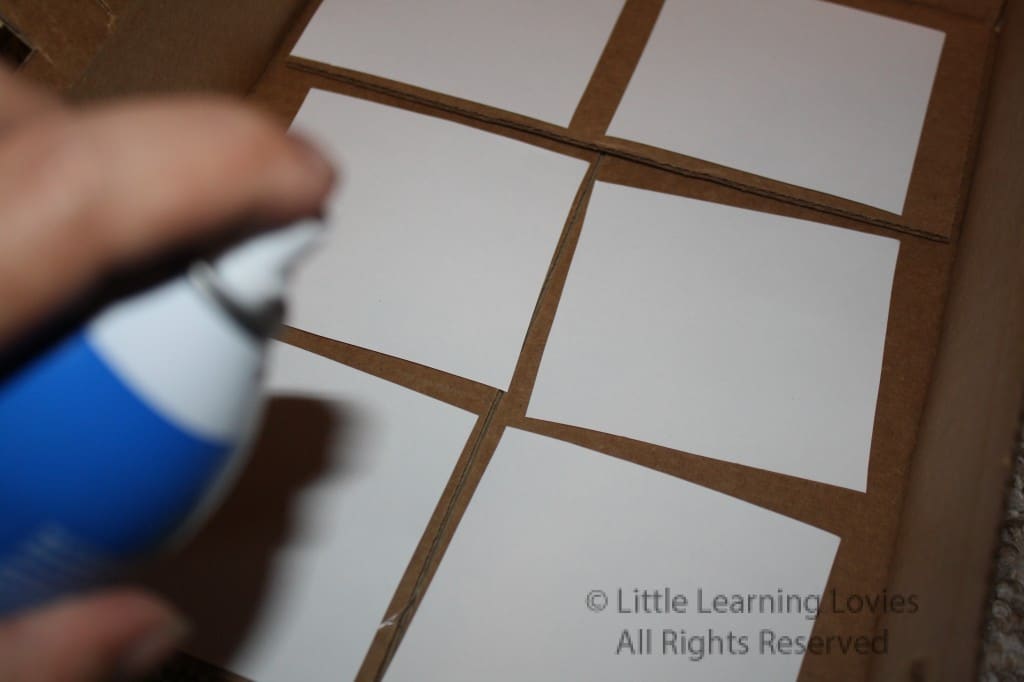
Once all your pieces are glued, it’s time to put the backing on.
Put a backing sheet into your box and spray it all over. Then put 4 of your cardboard pieces onto it. Repeat with all 3 pages of backing. Then cut the cardboard pieces off. This way, you’ll have the entire back covered over evenly.
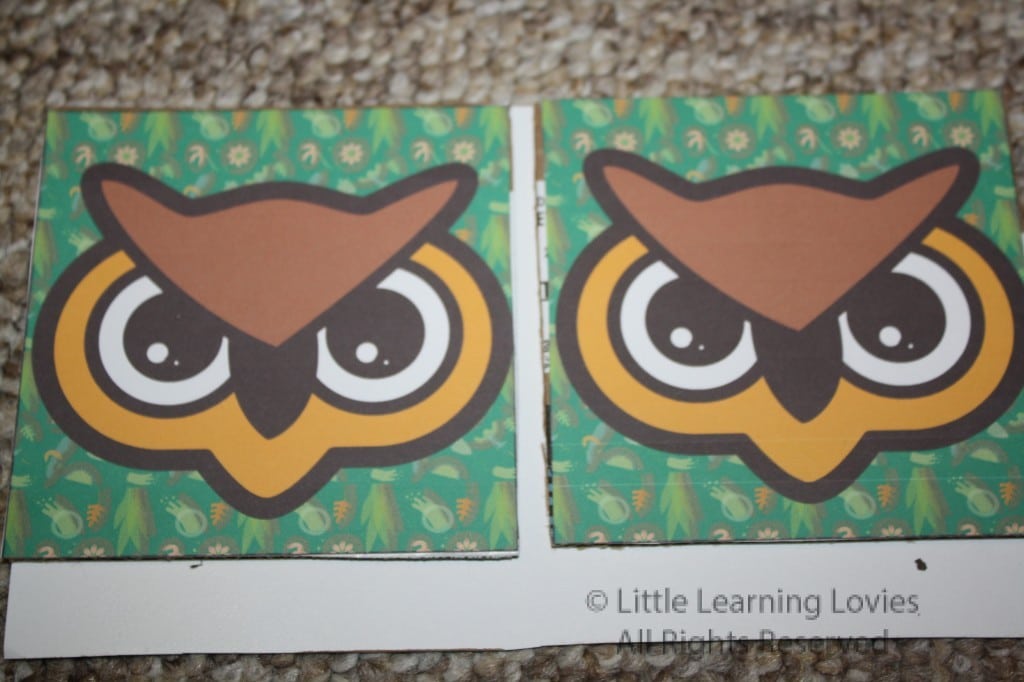
Then have fun! It’s great fun to play with these big, thick game pieces.
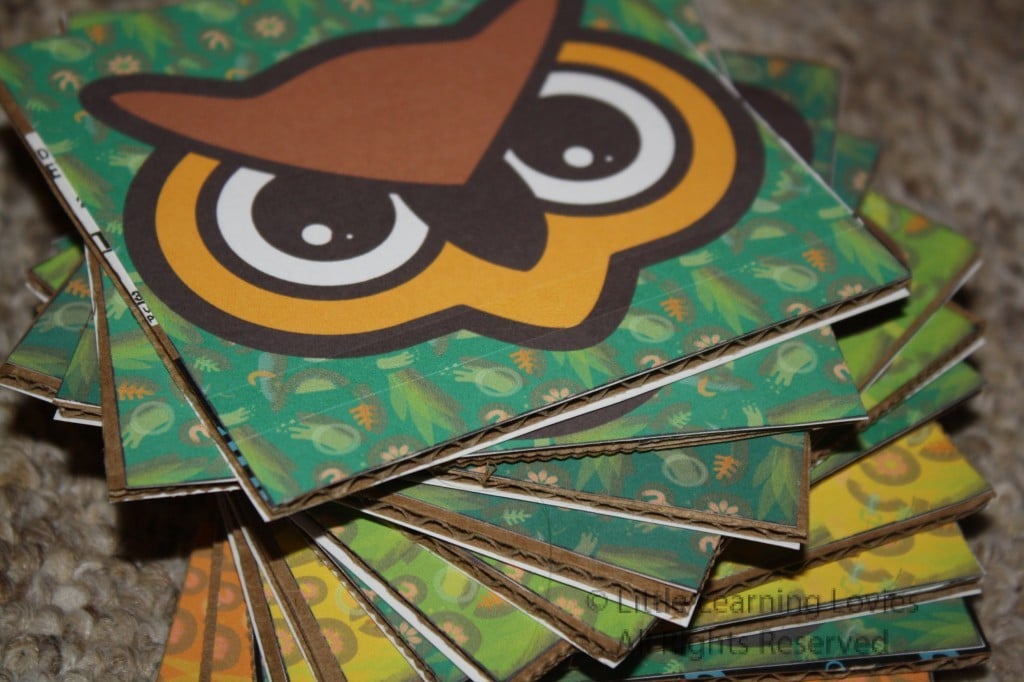
One last thing you could do to finish this all off is use some masking tape around the sides or even washi tape. But they’ll last just fine this way if you choose not to finish the edges.
I hope you have lots of fun! ♥